Outlook 2007 and higher on Windows
(the images shown here are from Outlook 2016)
- Download and install the Outlook CalDav Synchronizer. (optional)
- Launch Outlook.
- If this is the first time you have launched Outlook, it will go automatically to the next step. Otherwise, go to the File menu and click Add Account.

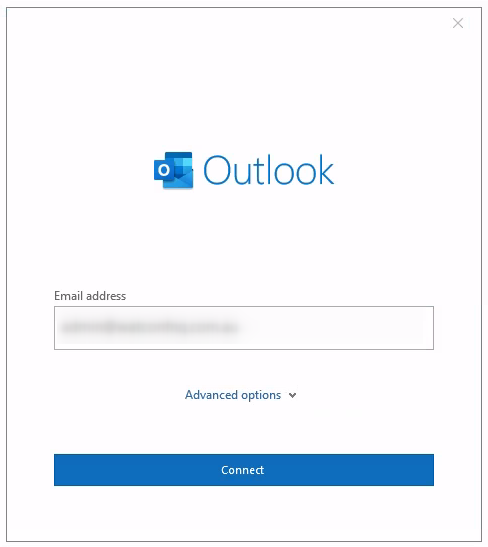
- Enter your email address (as supplied by your administrator) and click Connect.
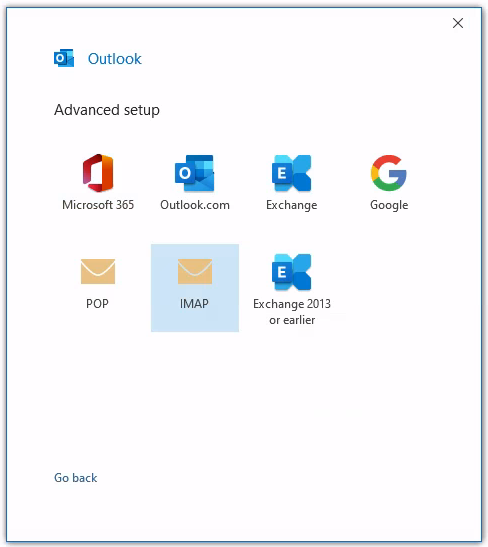
- Select IMAP.
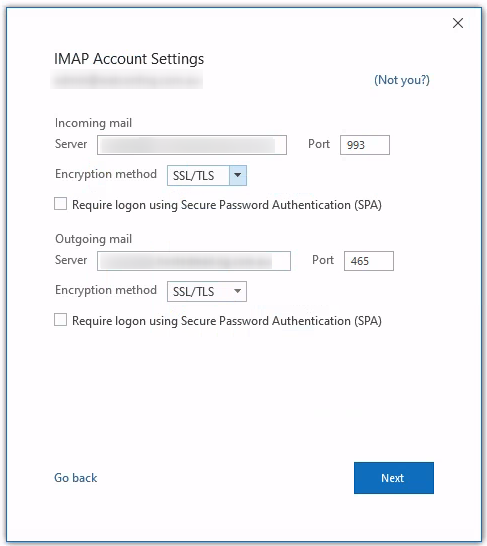
- If prompted, enter the Incoming and Outgoing mail details as shown. Use the Server name mail.your.domain.name #1. Click Next.
- Enter your password (as supplied by your administrator). Click Connect.
- Outlook will add your account and prompt to setup your Mobile too. Untick this option and Click Done.
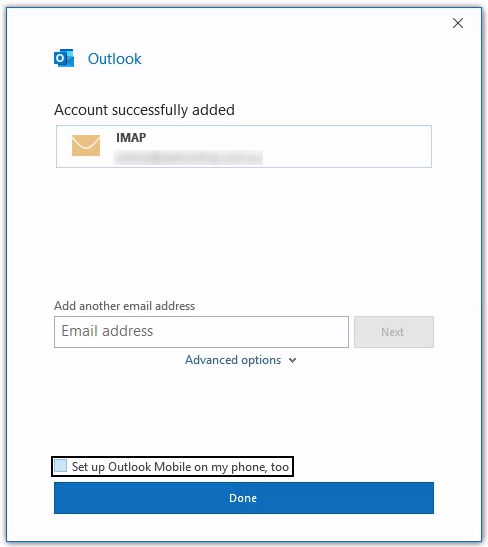
We do not recommend or support the use of Outlook on a mobile device. Microsoft do not recognise data sovereignty when using this app on your mobile. Instead, we suggest the use of 3rd party apps in it's place.
Finished
The remainder of the instructions are optional if you are not using the Outlook CalDav Synchronizer.
- Go to the CalDav Synchronizer ribbon and click Synchronization Profiles.

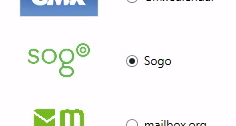
- Click the second button at top (Add multiple profiles), select Sogo, click Ok.

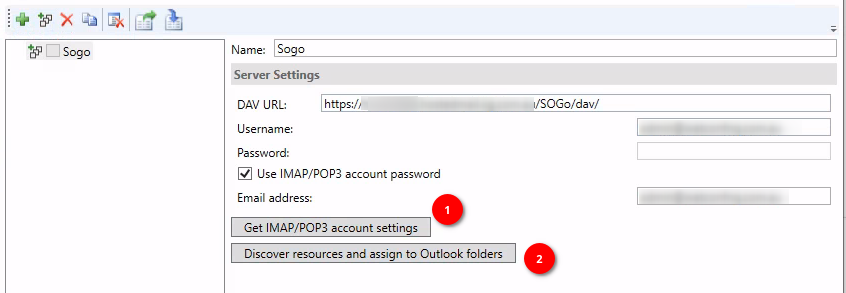
- Click the Get IMAP/POP3 account settings button.
- Click Discover resources and assign to Outlook folders.
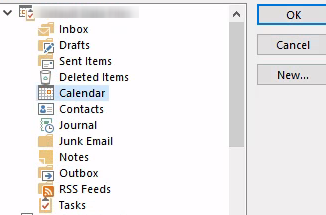
- In the Select Resource window that pops up, select your main calendar (usually Personal Calendar), click the ... button.

This will switch to Outlook and allow you to select the Calendar, and Click OK.
-
Go back to the Select Resource window and repeat the process for each of the tabs; Address Books (select Contacts) and Tasks (select Tasks). Only assign one calendar, address book and or task list; usually your personal list, the GAL list should be ignored.
-
Close all windows with the OK buttons.
Finished
#1 - ....your.domain.name is an example and not literal. Replace this with your own domain name.